


The first time we attempted to harvest was a disappointment, as we couldn’t harvest anything… Turned out the problem wasn’t just the bad quality of the harvesting sieve that came with the kit, our culture had to be < 1 cm (Secchi disk) to harvest!
The second time, our culture was ready to harvest and we managed to collect some to taste and observe under the microscope.
lastly, we tested the pump to suck culture rich media from container, pump it up to the filter where Spirulina is collected and the media is then dripped back into the container to be reused.
Here, we also tested 2 different filters to see what works best. The 10 micrometer paper filters collect the most culture, but are too slow for the pump, yet the paper coffee filters collect less culture but much faster. We realized this works to our advantage as the unfiltered culture that goes back to the container with the media is necessary for the next harvest.
After we set up automated heating an aeration, our Spirulina culture started to grow rapidly, so we decided it was time to run some experiments.
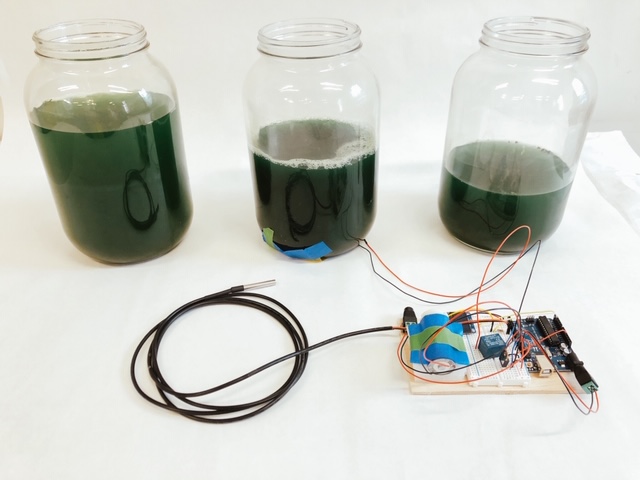
To run our experiment, we created 4 different jars and measured/documented the culture density in each. Then we created an identical automated system to test if we can repeat the results. We also created a control jar that only gets the same lighting as the other jars. We will measure the culture density periodically to see how much difference this automated system makes in growing Spirulina.
The next phase is to test for optimal lighting, while we start design research and prototyping the container.

We finally received the Spirulina growing kit and started making our first prototype over the spring break. The kit came with all the material we needed to get started, along with relatively easy to follow instructions.
Basically, the main ingredients that one needs to get started are:
Spirulina Culture
Nutrients
Alkaline salt mix
filtered water (no chlorine)

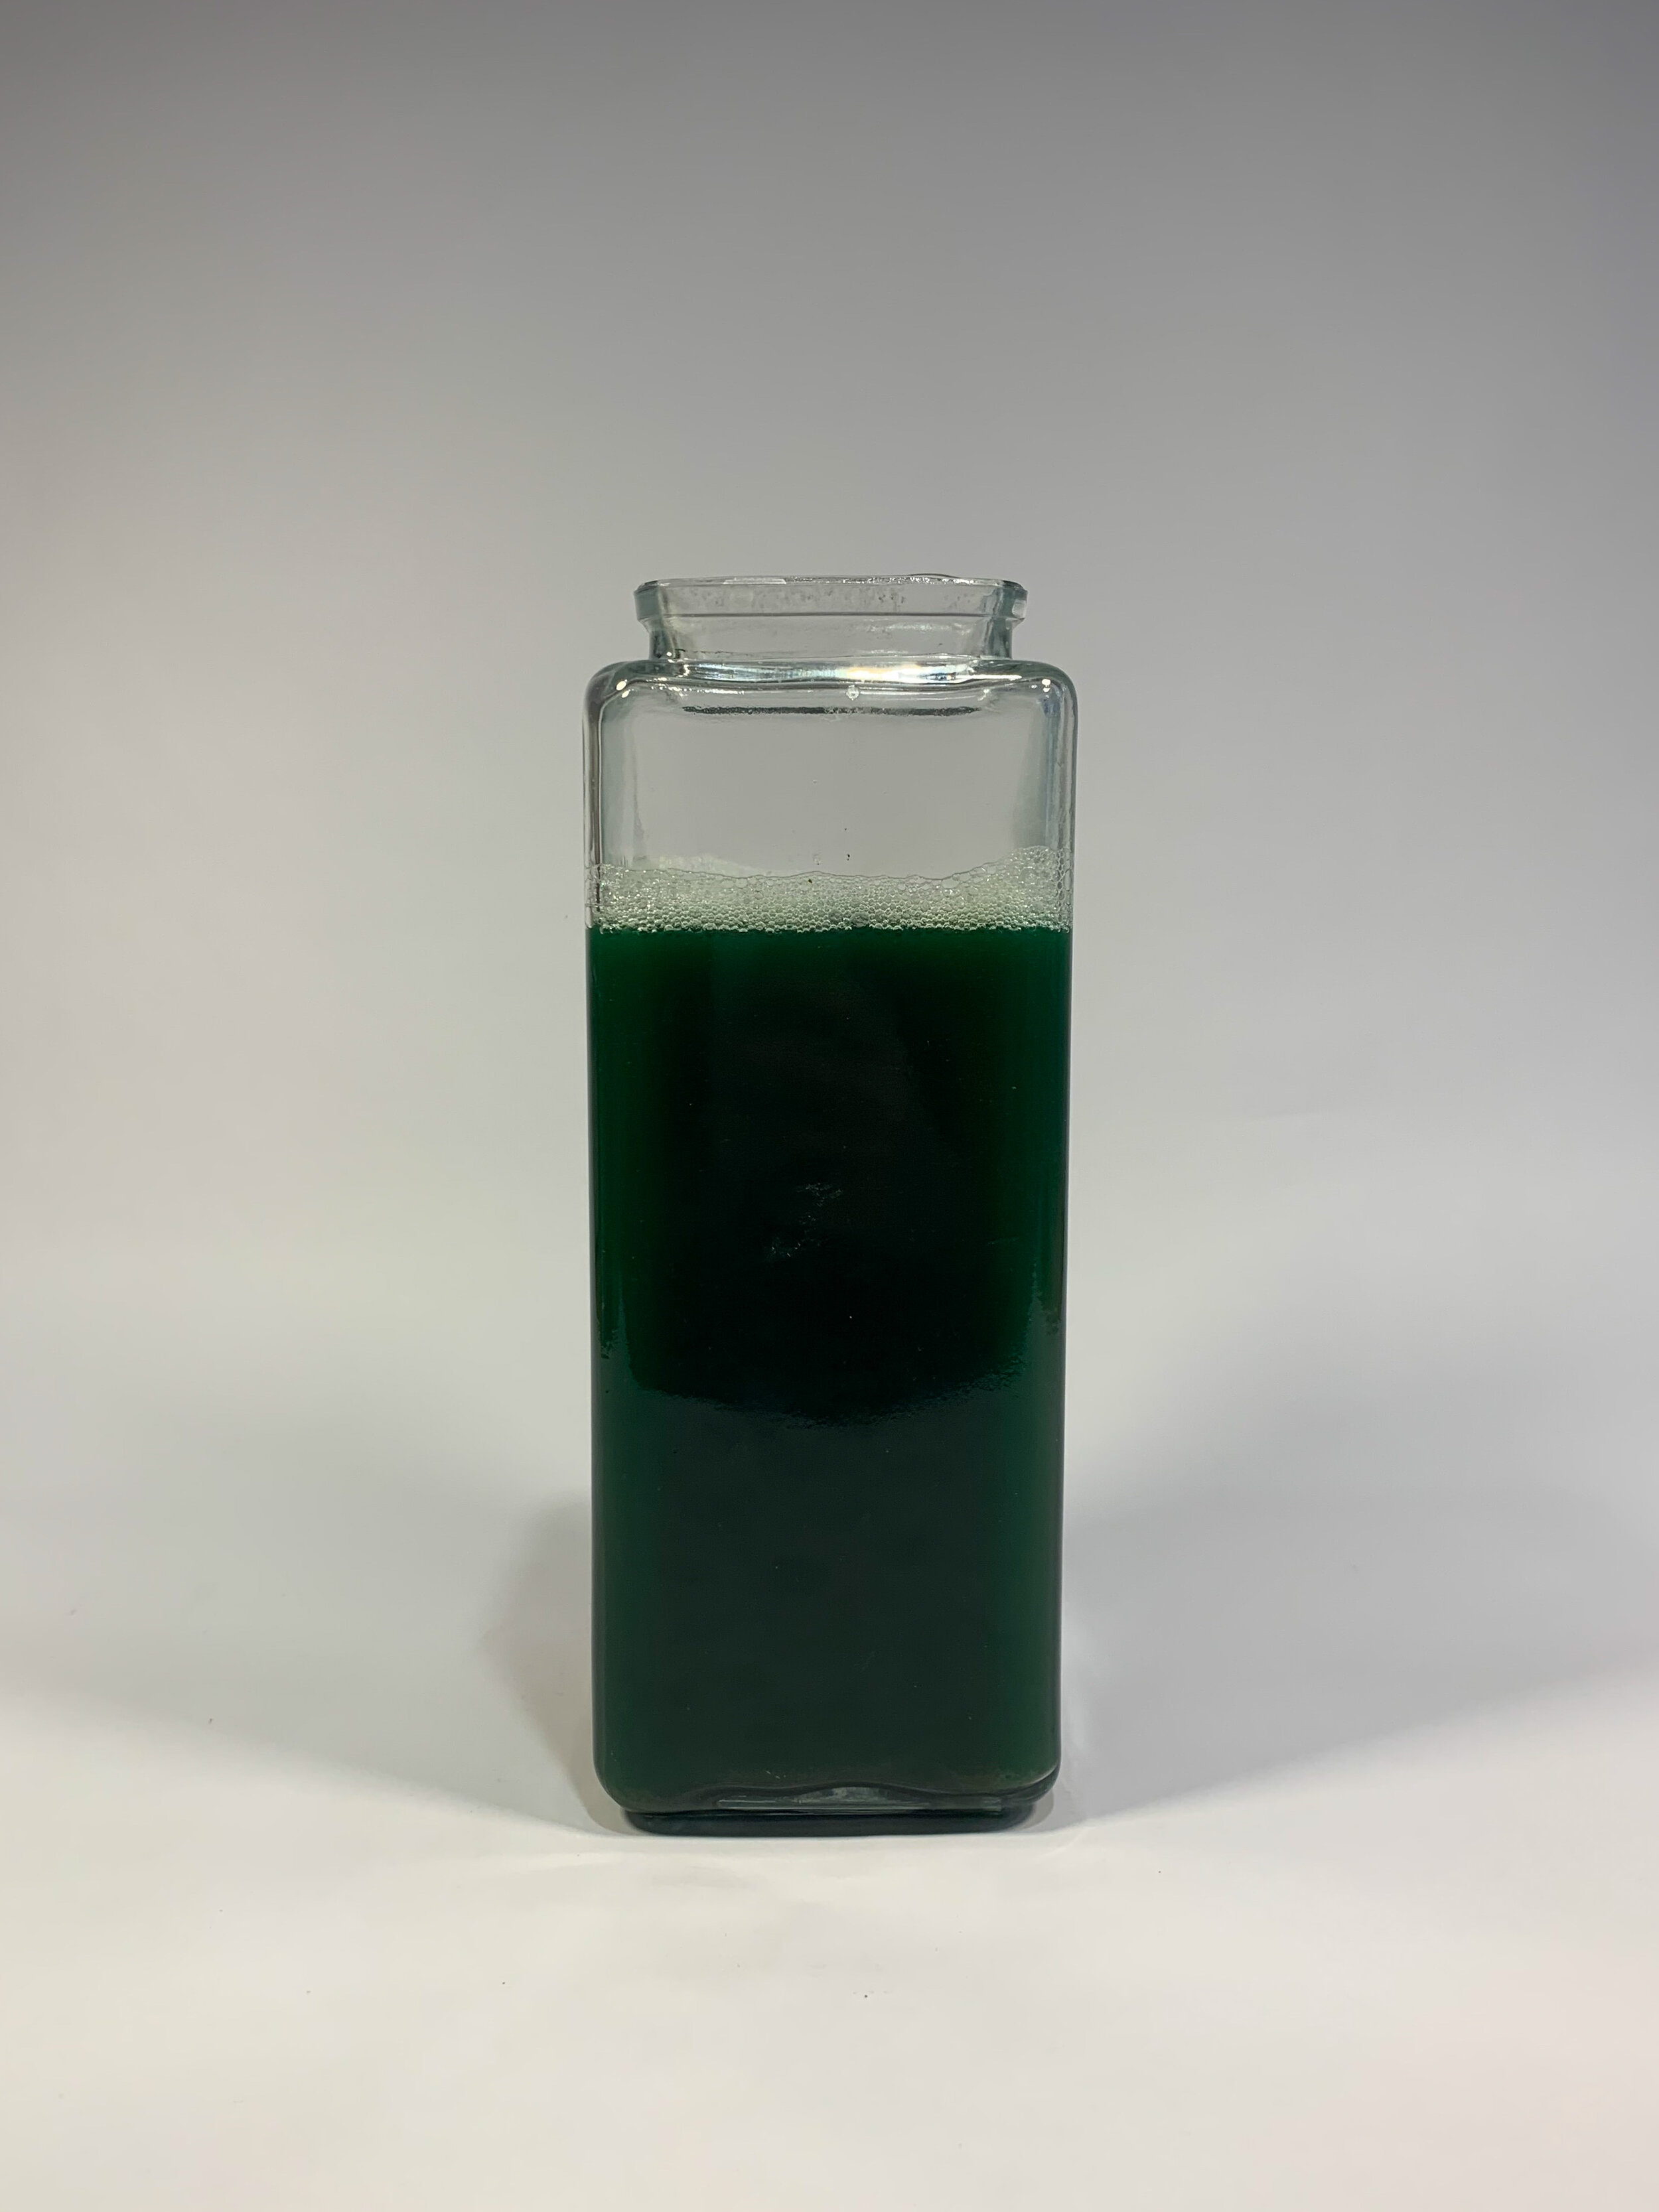
We initially made 2 different jars, each containing a different amount of media+culture, put them close(but not directly under) to red and blue LED lights and waited to see what happens. We stirred both mixtures almost everyday and after a few days saw the culture gain a lime green hue. It was growing but slowly.
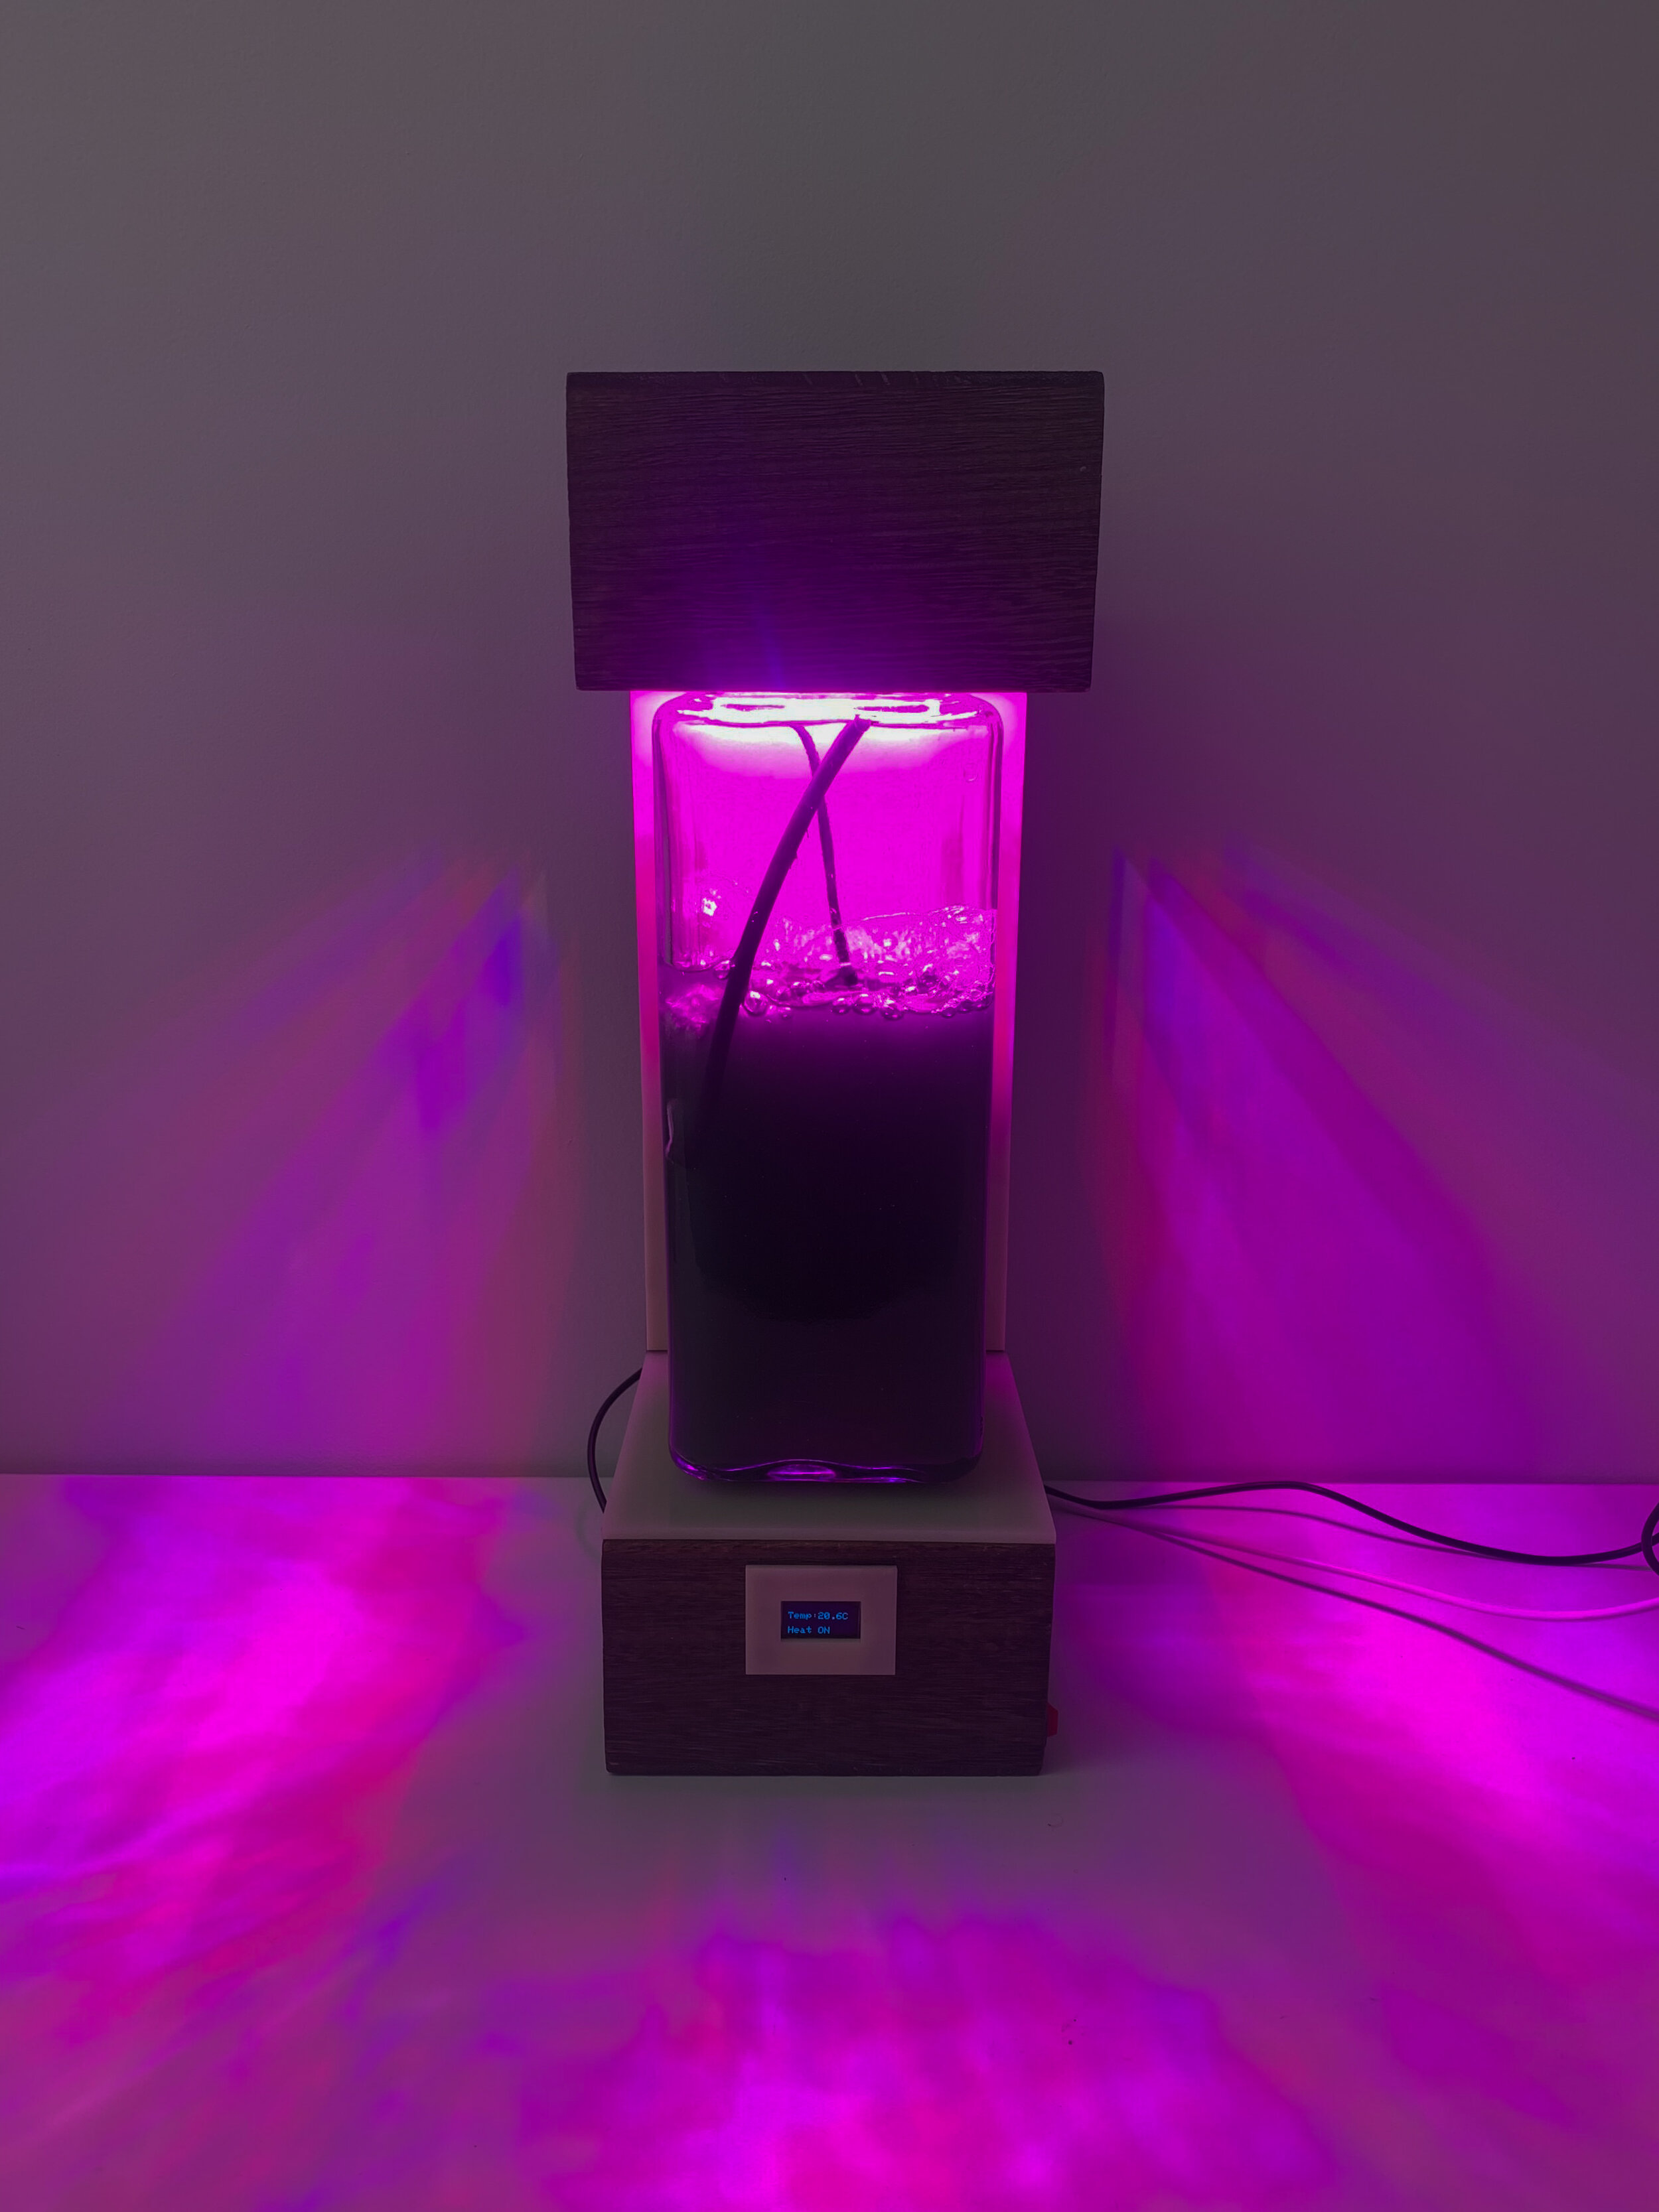
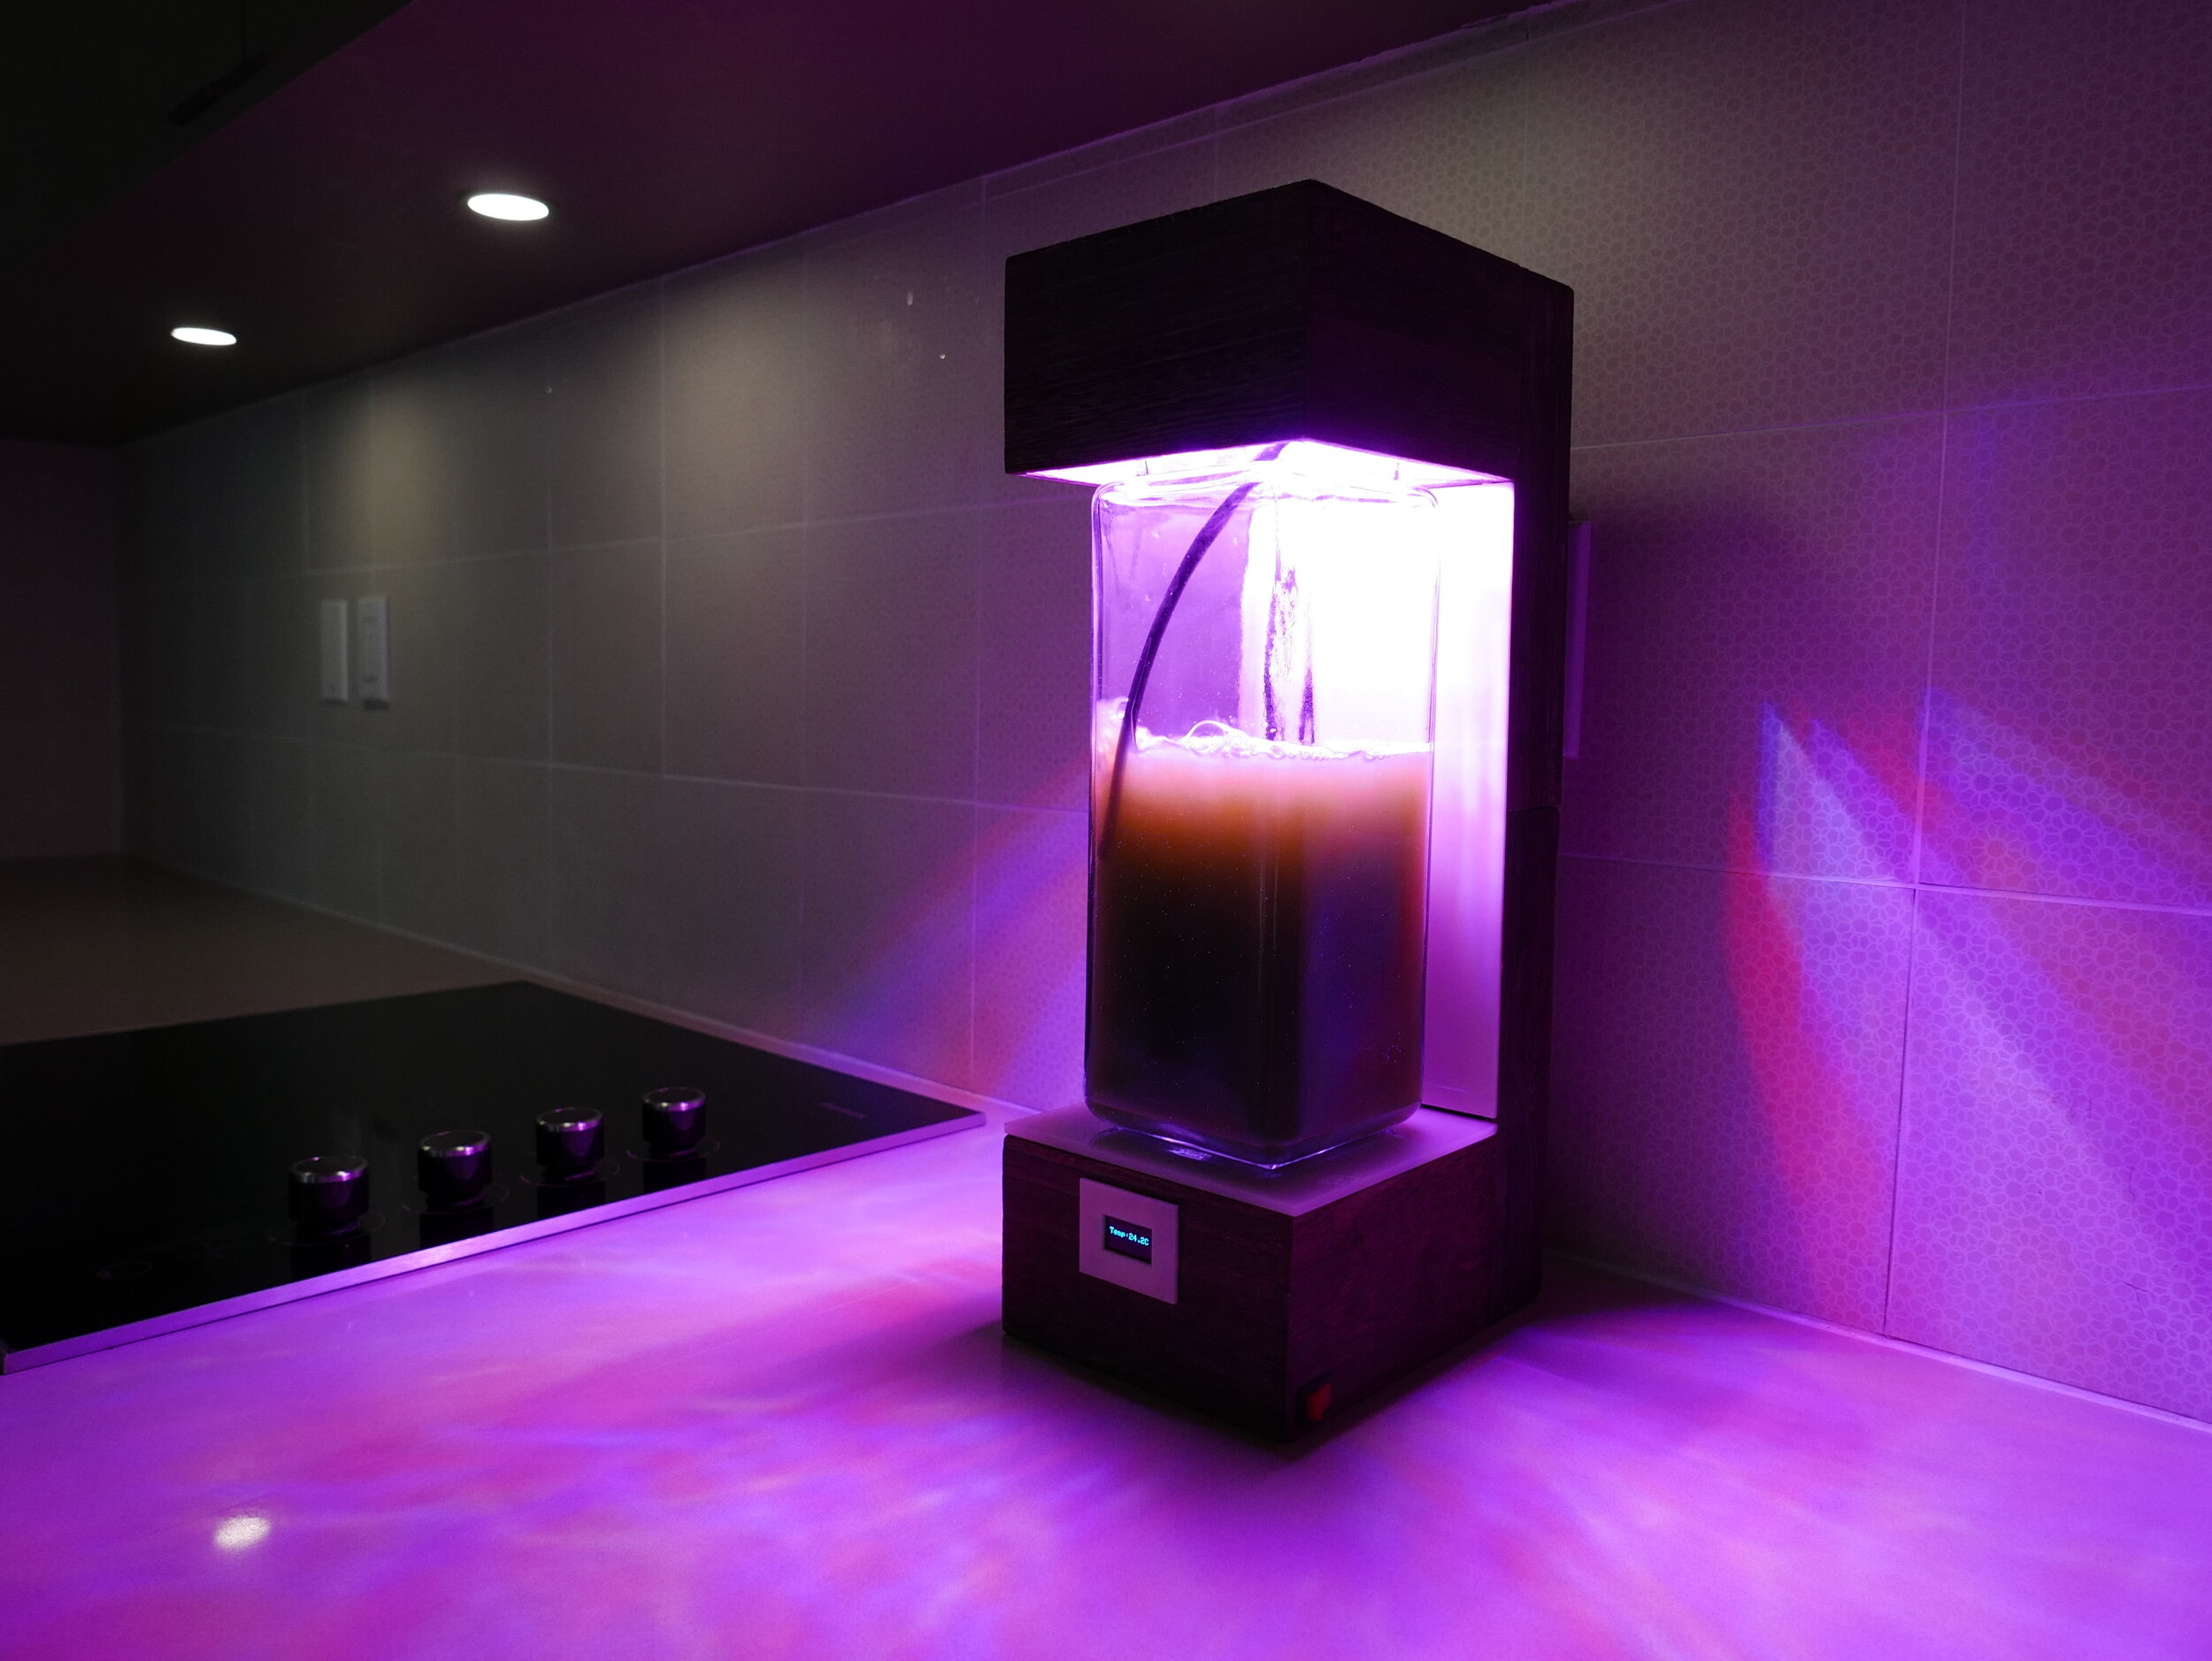
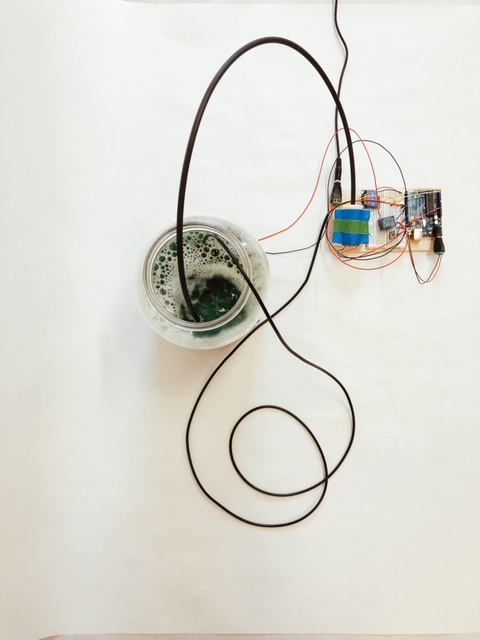
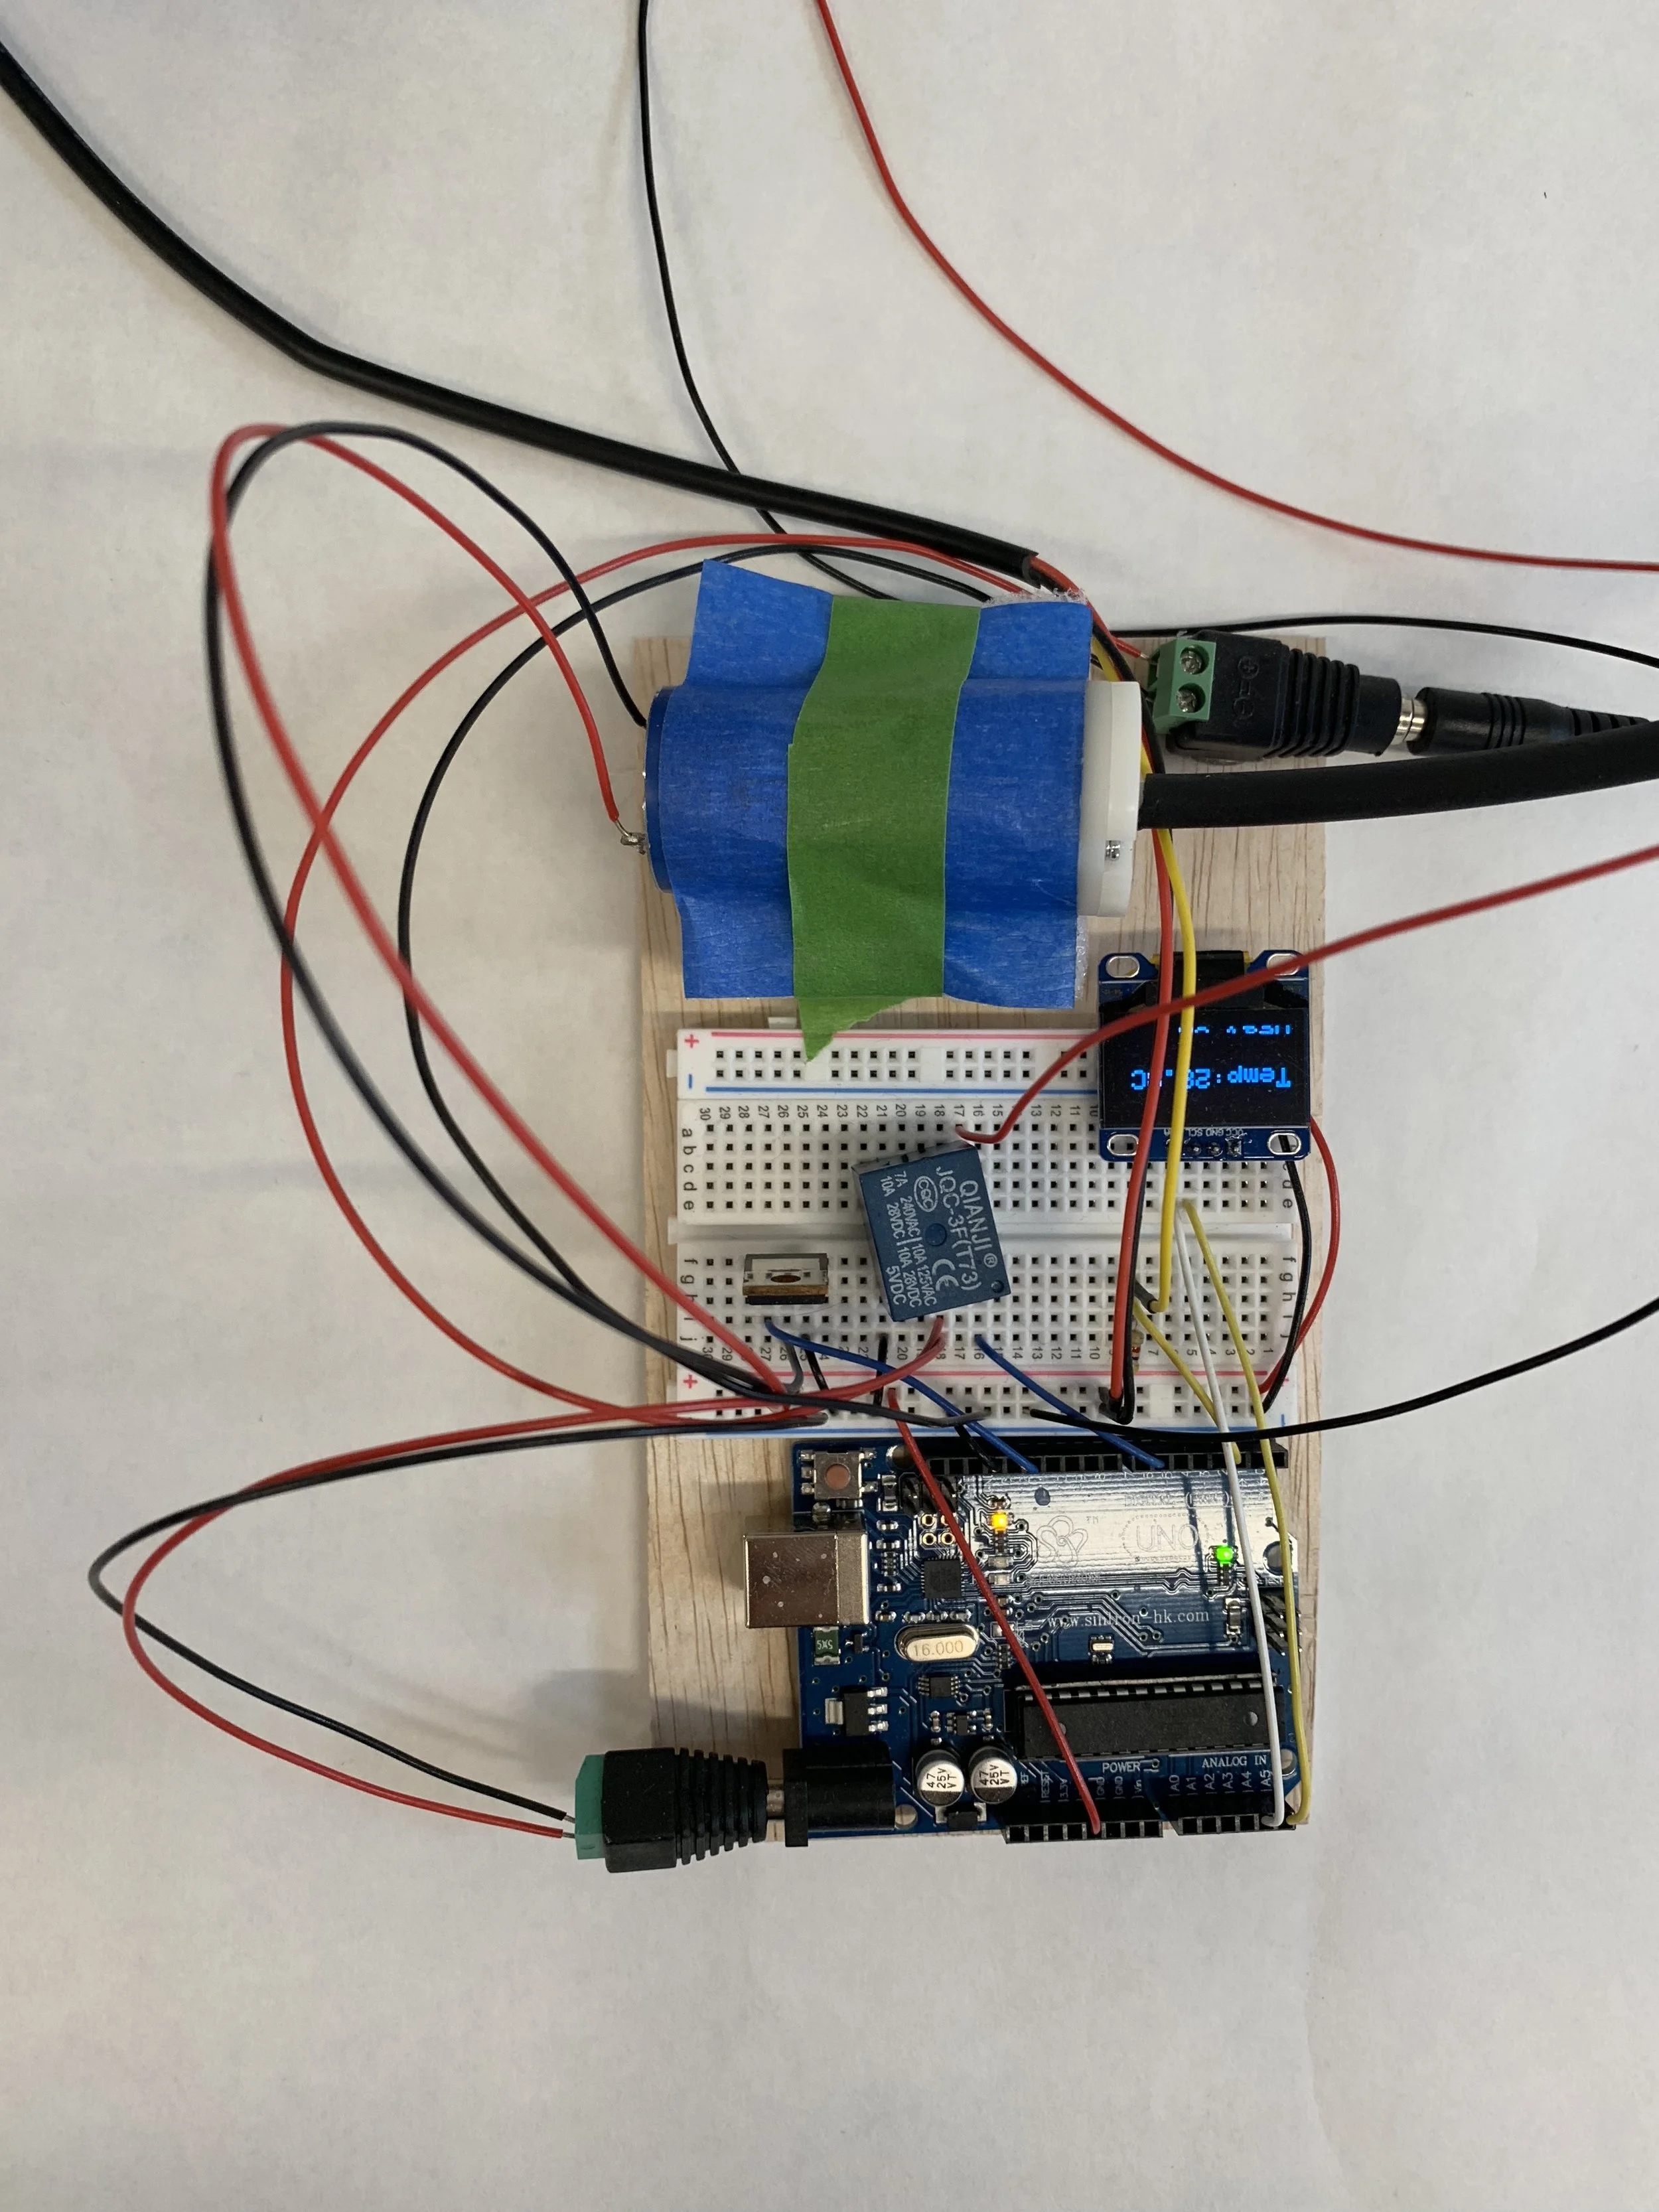
Meanwhile, Timothy got started on developing automated temperature regulation, using:
Arduino
heat sensor
heating pad
digital display
JQC relay


After a few trials, we finally got the heating pad to self-regulate within a 28-32 degree range. Next, we installed the air-pump and set it to turn on periodically (1 hr on and 1 hr off). We then put the prototype under the LED lights and left it for a couple of days… To our complete shock, the mixture grew much more rapidly with automated heat regulation and periodic aeration, and the culture is now a dark green hue.
Next, we plan to figure out optimal lighting conditions and apply that to our prototype. Then we will start our experiment with a new jar and one for control to see how our automated system affects the growth rate and quality of Spirulina.